Publishing date:
This article was originally published: November 15 2012
It may therefore be that some links do not work anymore.
PA1JCB:
Only recently I got my amateur radio licence. The course material did prep me for the exam, but hardly for the reality of operating a radio. Fortunately, radio amateurs are a sharing kind, and often internet savvy, so the problem is not finding information, but rather filtering the right information from the cascade of documents offered on the Net.
Nuxcom:
Browsing the web, I found a link to the German company Nuxcom’s web shop (www.nuxcom.de), who sell antenna kits for reasonable prices. I was particularly looking for a small antenna allowing me to communicate with my buddy on the other side of town, on low power.
My attention was drawn to the ‘Twinband Yagi DK7ZB 144/432 9 Elements’‘.
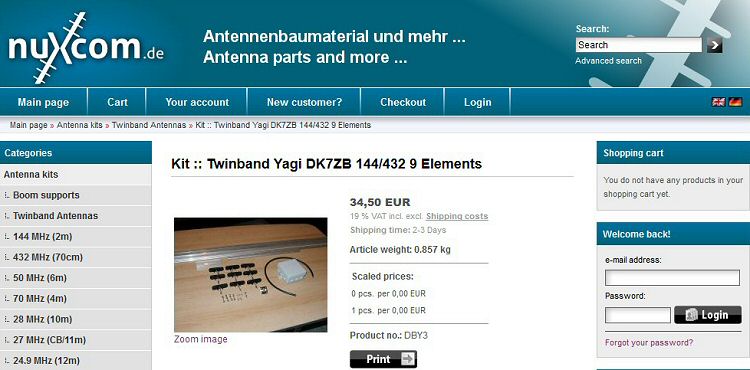
The kit is offered for only €34,50. each. I ordered two (one for myself and one for my buddy, PA1WBU, Wilko). I ordered two mast clamps along (9 euro each).
Including €13,50. shipping cost, the total order sum was €100,50.
Nuxcom are excellent communicators. Order confirmation, invoice and payment instructions were issued promptly and were very clear. It took a week for the antenna kits to be delivered to my doorstep.
Materials:
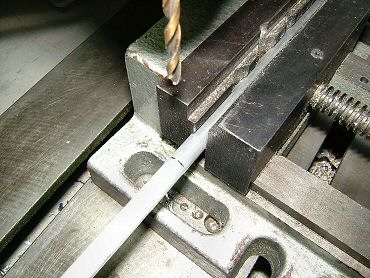
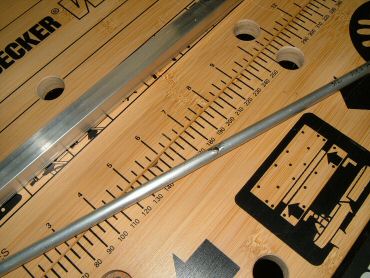
The kit looks very well. Aluminium tubing for the radiators and passive elements are supplied in lengths of approximately one meter, and have to be cut to length. I used a tube cutter for this (left over from a central heating installation job), but a metal saw does the job as well. It’s a pity that no nesting list is supplied, and every builder has to determine how to cut the elements from the available lengths. Considering that the supplied lengths were chosen by adding the length of some shorter pieces together, it would have been no work at all to supply the nesting information in the building instructions.
Assemblage:
Determining the positions of the elements on the beam has to be done by the builder, but it’s no rocket science.
Insulators between the beam and elements are supplied, and the manual explains that the beam and elements can be bolted together with a metallic bolt since no current flows in the center of the elements .
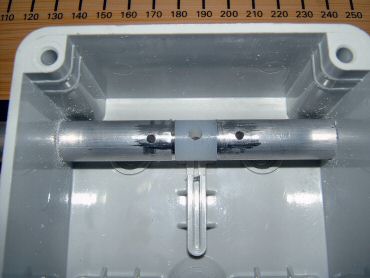
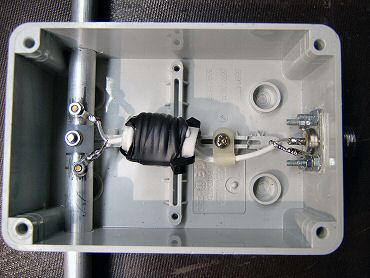
To house the N-connector, balun and the connection to the radiator, an electrical junction box such as used in home electrical installations is provided. This is a poor choice because it has so many protruding parts and prepared cutouts that it is difficult to make the holes for the radiator element in the right position. A clean box with straight sides would have my preference, and I would be willing to pay a few extra bucks for this.
Tools:
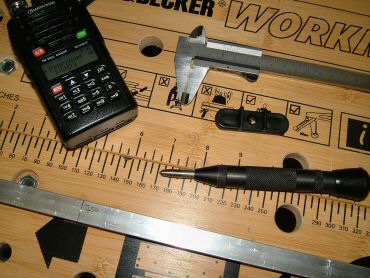
Assembling the antenna takes half a day. The tools requires are a dril (and maybe a staged drill for the larger connector hole), screwdriver and a saw or tube cutter. You will also need a tape measure.
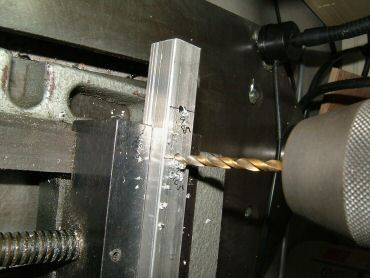
The insulator separating both halves of the radiator is a plastic cylinder. It was a little too large to fit into the aluminium tubes easily, but Wilko had a lathe handy and trimming it down a notch was no issue. If you have no lathe hand, some sandpaper in combination with patience will also do the trick.
It works:
We’ve assembled the 2 yagi’s, and we can make the connection betwee the two stations 10.7 km apart easily with 1W power. With 1/4 wavelength GP antennae this connection across the city of Arnhem took approximately 5 watt power.
Some analysis at the radio-interest-group at Scouting de Schutgraaf (thanks Roel!) indicates that the SWR is not yet ideal, probably the radiator element has to be trimmed a little.
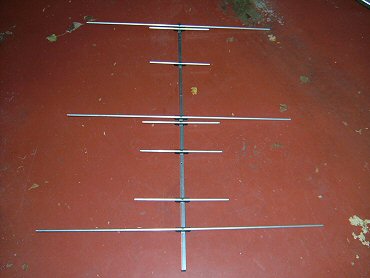
The PA1WBU version
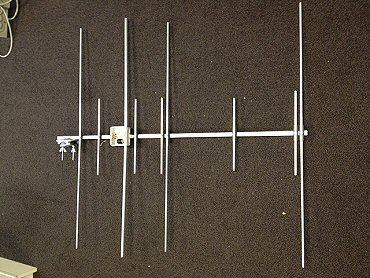
The PA1JCB version
The adventure in drief:
All in all, the first results are positive, and the shopping experience at the Nuxcom web shop was definitely pleasant.
Plusses:
- Quick response from the shop, Deutsche Gründlichkeit in communcation and materials
- The package is complete with all bolts and nuts and whatnots
- Very reasonable price
- Quality N-connector, no low-cost SO235 used
Minuses:
- The box protecting the innars is a bit cheap
- Assembly instructions could be clearer, nesttin/sawing list is missing. A step-by-step story would be very useful for most people. Borrow some ideas from IKEA here!
- The manual stops after assembly, a trimming and tuning guide might come in handy to get the best out of your new antenna. But maybe that’s the charm of our hobby, finding things out yourself…
Conclusion:
You couldn’t put this antenna together from scratch for this money. It’s not a high end antenna, but good value for money.
73, Jacob – PA1JCB en Wilko – PA1WBU
Final text editing and Photo editing by: PA2OLD november 2012